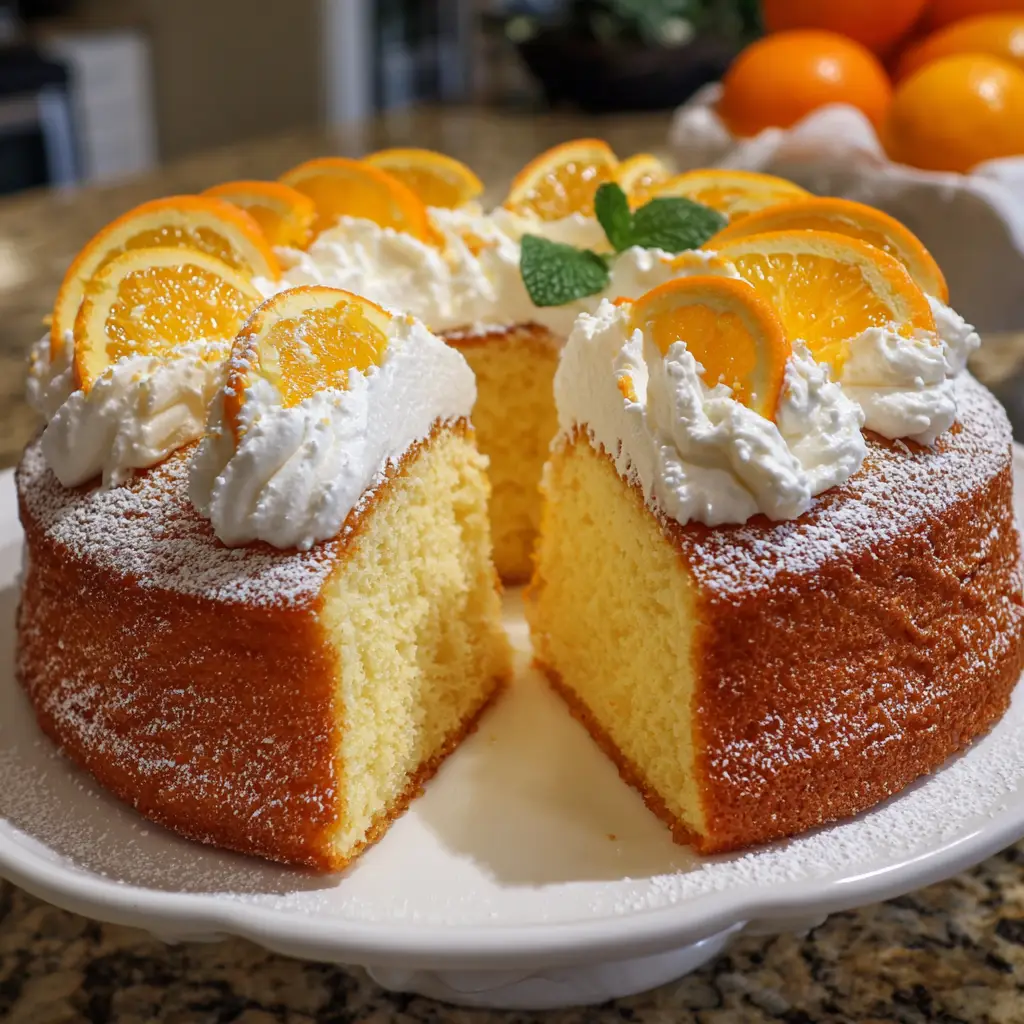
Introduction to Orange Creamsicle Cake
As summer rolls in, I find myself craving something light, refreshing, and oh-so-delicious. That’s where my Orange Creamsicle Cake comes into play! This delightful dessert captures the essence of those nostalgic creamsicle treats we all loved as kids. It’s perfect for busy moms like us who want to whip up something special without spending hours in the kitchen. Whether you’re hosting a backyard barbecue or simply treating your family, this cake is sure to impress. Trust me, every bite will transport you back to sunny days and carefree moments!
Why You’ll Love This Orange Creamsicle Cake
This Orange Creamsicle Cake is a dream come true for busy cooks! It’s quick to prepare, taking just about 50 minutes from start to finish. The vibrant orange flavor paired with creamy whipped topping creates a taste sensation that’s both refreshing and indulgent. Plus, it’s a crowd-pleaser, making it perfect for family gatherings or summer parties. You’ll love how easy it is to make and how much joy it brings to your table!
Ingredients for Orange Creamsicle Cake
Gathering the right ingredients is the first step to creating your Orange Creamsicle Cake. Here’s what you’ll need:
- All-purpose flour: This is the backbone of your cake, providing structure and texture.
- Granulated sugar: Sweetness is key! It helps balance the tangy orange flavor.
- Unsalted butter: Adds richness and moisture, making your cake tender and delicious.
- Orange juice: Freshly squeezed is best! It infuses the cake with that vibrant citrus flavor.
- Orange zest: This little powerhouse packs a punch of orange aroma and taste.
- Large eggs: They help bind everything together and add moisture.
- Baking powder: This leavening agent ensures your cake rises beautifully.
- Salt: Just a pinch enhances all the flavors in your cake.
- Heavy cream: The star of your whipped topping, making it light and fluffy.
- Powdered sugar: Sweetens the whipped cream and gives it a smooth texture.
- Vanilla extract: A splash of vanilla adds depth to the whipped cream.
For those looking to experiment, consider adding more orange zest for a bolder flavor or using a gluten-free flour blend if needed. You can find all the exact measurements at the bottom of the article, ready for printing!
How to Make Orange Creamsicle Cake
Now that you have your ingredients ready, let’s dive into the fun part—making the Orange Creamsicle Cake! Follow these simple steps, and you’ll have a delightful dessert that will wow your family and friends.
Step 1: Preheat and Prepare
First things first, preheat your oven to 350°F (175°C). This ensures your cake bakes evenly. While the oven warms up, grease two 9-inch round cake pans. I like to use a bit of butter or cooking spray to make sure the cakes slide out easily later.
Step 2: Cream the Butter and Sugar
In a large mixing bowl, combine the softened unsalted butter and granulated sugar. Using an electric mixer, beat them together until the mixture is light and fluffy. This step is crucial! It incorporates air, giving your cake a lovely texture. It should take about 3-5 minutes.
Step 3: Add Eggs and Orange Flavor
Next, add the eggs one at a time, mixing well after each addition. This helps the eggs blend smoothly into the batter. Then, pour in the orange juice and add the orange zest. The aroma will be heavenly! Mix until everything is well combined.
Step 4: Combine Dry Ingredients
In another bowl, whisk together the all-purpose flour, baking powder, and salt. This step ensures that the baking powder is evenly distributed, which is key for a well-risen cake. It’s like giving your cake a little boost!
Step 5: Mix Wet and Dry Ingredients
Now, gradually add the dry ingredients to the wet mixture. Stir gently until just combined. Be careful not to overmix; a few lumps are perfectly fine. This will keep your cake light and fluffy, just like a creamsicle!
Step 6: Bake the Cakes
Divide the batter evenly between the prepared cake pans. Bake in your preheated oven for 25-30 minutes. To check for doneness, insert a toothpick into the center of the cakes. If it comes out clean, they’re ready to come out!
Step 7: Cool the Cakes
Once baked, let the cakes cool in the pans for about 10 minutes. Then, carefully transfer them to wire racks to cool completely. This step is important! If you frost them while warm, the whipped cream will melt away.
Step 8: Prepare the Whipped Cream
While the cakes cool, it’s time to whip up the cream! In a separate bowl, combine the heavy cream, powdered sugar, and vanilla extract. Using an electric mixer, whip until soft peaks form. This fluffy topping is what makes your Orange Creamsicle Cake truly special!
Step 9: Assemble the Cake
Once the cakes are completely cool, it’s time to assemble! Spread a generous layer of whipped cream between the two cake layers. Then, cover the top and sides of the cake with more whipped cream. For a finishing touch, sprinkle some extra orange zest on top. It’s like sunshine on a plate!
Tips for Success
- Use room temperature ingredients for better mixing.
- Don’t skip the cooling step; it prevents melting whipped cream.
- For a richer flavor, try adding a splash of orange liqueur to the batter.
- Keep an eye on the baking time; ovens can vary.
- Store leftovers in the fridge for a refreshing treat the next day!
Equipment Needed
- Two 9-inch round cake pans (or one 9×13-inch pan for a single layer).
- Electric mixer (a whisk works too, but it’ll take longer).
- Mixing bowls (a large one for wet ingredients and a medium one for dry).
- Measuring cups and spoons for accuracy.
- Wire racks for cooling the cakes.
Variations of Orange Creamsicle Cake
- Gluten-Free: Substitute all-purpose flour with a gluten-free flour blend for a delicious gluten-free version.
- Vegan: Replace eggs with flaxseed meal and use a plant-based butter and cream alternative.
- Chocolate Twist: Add cocoa powder to the batter for a chocolate-orange flavor combination that’s irresistible.
- Fruit Add-Ins: Toss in some fresh berries or chopped peaches for added texture and flavor.
- Layered Delight: Create a layered cake by adding a layer of orange curd between the cake and whipped cream.
Serving Suggestions for Orange Creamsicle Cake
- Pair with a scoop of vanilla ice cream for an extra creamy treat.
- Serve alongside fresh fruit, like berries or sliced peaches, for a colorful plate.
- Drizzle with a light orange glaze for added sweetness.
- Enjoy with a refreshing glass of iced tea or lemonade.
- Garnish with mint leaves for a pop of color and freshness.
FAQs about Orange Creamsicle Cake
Can I make Orange Creamsicle Cake ahead of time?
Absolutely! This cake can be made a day in advance. Just store it in the refrigerator, and it will be even more refreshing when served chilled.
What can I substitute for heavy cream in the whipped topping?
If you’re looking for a lighter option, you can use whipped coconut cream or a dairy-free whipped topping. Both will still give you that delightful creaminess!
How do I store leftover Orange Creamsicle Cake?
Store any leftovers in an airtight container in the refrigerator. It will stay fresh for up to three days, making it a perfect treat for those hot summer days!
Can I freeze Orange Creamsicle Cake?
Yes, you can freeze the cake! Just wrap it tightly in plastic wrap and then in aluminum foil. It can be frozen for up to three months. Thaw it in the fridge before serving.
What’s the best way to serve this cake?
For a delightful presentation, serve slices with a dollop of whipped cream and a sprinkle of orange zest. It’s a beautiful way to showcase this summer dessert!
Final Thoughts
Making this Orange Creamsicle Cake is more than just baking; it’s about creating joyful moments with loved ones. Each slice is a burst of sunshine, reminding us of carefree summer days. The delightful combination of orange and cream brings smiles to faces, making it a perfect centerpiece for any gathering. Plus, it’s so easy to whip up, even on the busiest days! I hope this cake becomes a cherished recipe in your home, just as it has in mine. So, gather your ingredients, and let’s make some sweet memories together!
Print
Orange Creamsicle Cake: A Delightful Summer Treat!
- Prep Time: 20 minutes
- Cook Time: 30 minutes
- Total Time: 50 minutes
- Yield: 12 servings 1x
- Category: Dessert
- Method: Baking
- Cuisine: American
- Diet: Vegetarian
Description
A refreshing and delicious cake that combines the flavors of orange and cream, reminiscent of the classic creamsicle treat.
Ingredients
- 2 cups all-purpose flour
- 1 1/2 cups granulated sugar
- 1/2 cup unsalted butter, softened
- 1 cup orange juice
- 1 tablespoon orange zest
- 3 large eggs
- 1 tablespoon baking powder
- 1/2 teaspoon salt
- 1 cup heavy cream
- 1/4 cup powdered sugar
- 1 teaspoon vanilla extract
Instructions
- Preheat the oven to 350°F (175°C) and grease two 9-inch round cake pans.
- In a large bowl, cream together the butter and granulated sugar until light and fluffy.
- Add the eggs one at a time, mixing well after each addition.
- Stir in the orange juice and orange zest.
- In another bowl, whisk together the flour, baking powder, and salt.
- Gradually add the dry ingredients to the wet mixture, mixing until just combined.
- Divide the batter evenly between the prepared cake pans.
- Bake for 25-30 minutes or until a toothpick inserted into the center comes out clean.
- Let the cakes cool in the pans for 10 minutes, then transfer to wire racks to cool completely.
- In a separate bowl, whip the heavy cream with powdered sugar and vanilla extract until soft peaks form.
- Once the cakes are cool, spread whipped cream between the layers and on top of the cake.
- Garnish with additional orange zest if desired.
Notes
- For a more intense orange flavor, add more orange zest.
- This cake can be made a day in advance and stored in the refrigerator.
- Serve chilled for a refreshing treat on hot days.
Nutrition
- Serving Size: 1 slice
- Calories: 350
- Sugar: 25g
- Sodium: 150mg
- Fat: 18g
- Saturated Fat: 10g
- Unsaturated Fat: 8g
- Trans Fat: 0g
- Carbohydrates: 45g
- Fiber: 1g
- Protein: 4g
- Cholesterol: 80mg


