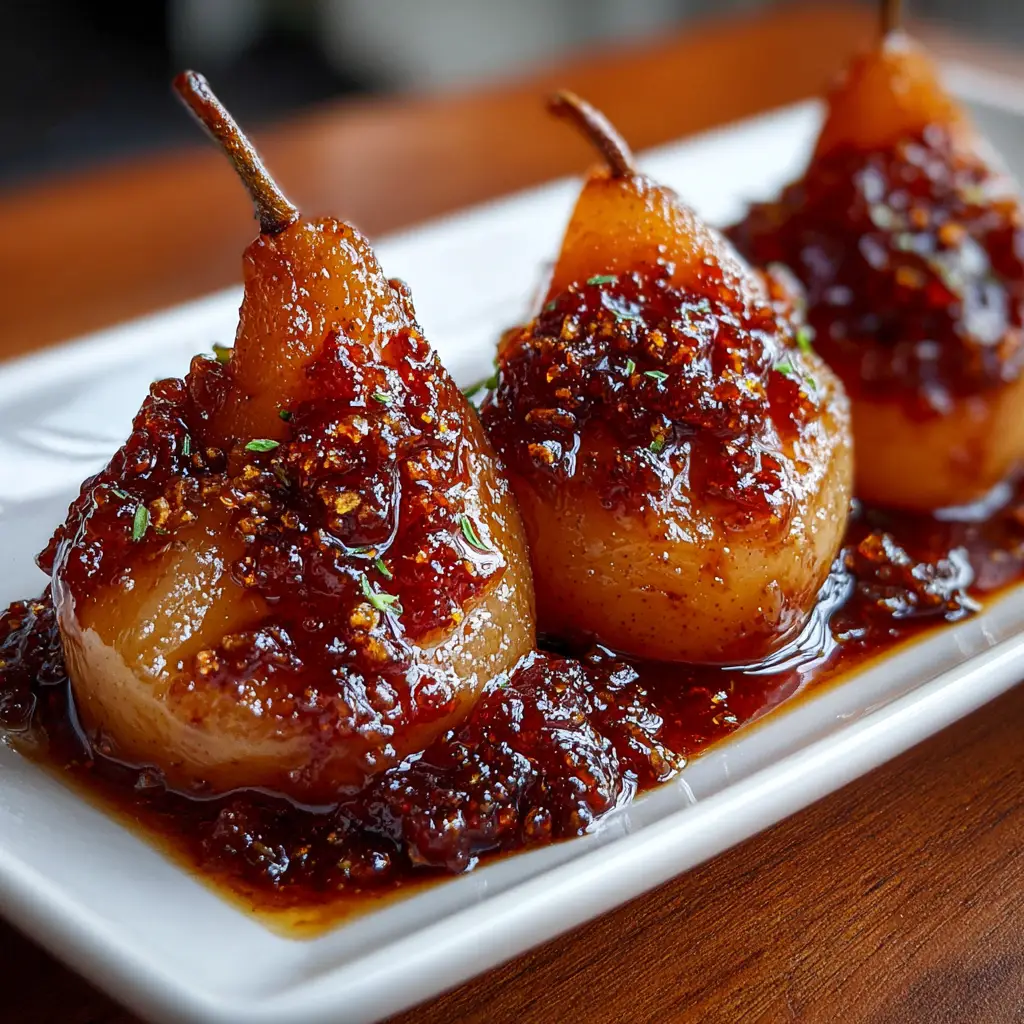
Introduction to Gingerbread Pear Jam
As the holiday season approaches, I find myself craving the warm, cozy flavors that remind me of family gatherings and festive cheer. That’s where my Gingerbread Pear Jam comes in! This delightful spread combines the sweet, juicy essence of ripe pears with the comforting spices of gingerbread. It’s perfect for busy moms like us, who want to whip up something special without spending hours in the kitchen. Whether you’re spreading it on toast or gifting it to loved ones, this jam is sure to bring smiles and warmth to your holiday table.
Why You’ll Love This Gingerbread Pear Jam
This Gingerbread Pear Jam is a game-changer for your holiday spread! It’s incredibly easy to make, taking just about 50 minutes from start to finish. The combination of sweet pears and warm spices creates a flavor explosion that dances on your taste buds. Plus, it’s a fantastic way to impress guests or share a homemade gift without the stress. Trust me, once you try it, you’ll be hooked!
Ingredients for Gingerbread Pear Jam
Gathering the right ingredients is the first step to creating your Gingerbread Pear Jam. Here’s what you’ll need:
- Ripe Pears: The star of the show! Choose juicy, ripe pears for the best flavor. Bartlett or Bosc varieties work wonderfully.
- Sugar: This sweetener balances the tartness of the pears and helps the jam set. You can use granulated sugar or try brown sugar for a deeper flavor.
- Lemon Juice: A splash of acidity brightens the jam and enhances the pear’s natural sweetness. Freshly squeezed is always best!
- Ground Ginger: This spice adds that signature gingerbread warmth. Feel free to adjust the amount based on your spice preference.
- Ground Cinnamon: A classic holiday spice that brings a cozy aroma to your kitchen. It pairs beautifully with the pears.
- Ground Nutmeg: Just a pinch adds a nutty, warm flavor that complements the other spices.
- Ground Cloves: These tiny powerhouses pack a punch! Use sparingly for a hint of warmth.
- Allspice: This spice combines flavors of cinnamon, nutmeg, and cloves, making it a perfect addition to your jam.
- Pectin: A natural thickening agent that helps your jam achieve that perfect spreadable consistency. You can find it in most grocery stores.
For exact measurements, check the bottom of the article where you can find a printable version of the recipe. Happy cooking!
How to Make Gingerbread Pear Jam
Making Gingerbread Pear Jam is a delightful journey that fills your kitchen with the warm scents of the holidays. Follow these simple steps, and you’ll have a delicious spread ready to enjoy or gift!
Prepare Your Jars
Before diving into the jam-making process, it’s crucial to prepare your jars and lids. Sterilizing them ensures your jam stays fresh and safe to eat. You can do this by boiling the jars in water for 10 minutes or running them through a hot cycle in the dishwasher. Let them air dry completely before using.
Combine Pears and Sugar
In a large pot, mix your chopped ripe pears with sugar and lemon juice. This combination not only sweetens the pears but also helps them release their juices. Let this mixture sit for about 30 minutes. This resting time allows the flavors to meld beautifully, creating a more vibrant jam.
Add Spices and Pectin
Once your pear mixture has rested, it’s time to add the spices and pectin. Sprinkle in the ground ginger, cinnamon, nutmeg, cloves, and allspice. Stir well to ensure everything is evenly distributed. This step is essential, as it infuses the jam with that signature gingerbread flavor!
Boil the Mixture
Now, bring your mixture to a boil over medium heat. Stir frequently to prevent sticking and ensure even cooking. You’ll want to keep an eye on it, as this is where the magic happens! The mixture should bubble vigorously, signaling that it’s cooking down into a jam.
Check for Thickness
After about 10-15 minutes of boiling, it’s time to check the thickness of your jam. To do this, use a spoon to scoop some jam and let it cool for a moment. If it holds its shape and doesn’t run off the spoon, you’re good to go! If it’s still too runny, continue boiling for a few more minutes.
Jar the Jam
Once your jam has reached the desired thickness, carefully pour it into your prepared jars. Leave about 1/4 inch of headspace at the top. This space is crucial for sealing and allows for expansion during processing. Wipe the rims of the jars with a clean cloth to ensure a good seal.
Process the Jars
To preserve your jam, you’ll need to process the jars in a boiling water bath. Place the filled jars in a large pot of boiling water, ensuring they are covered by at least an inch of water. Process for 10 minutes. This step is vital for sealing the jars and extending the shelf life of your Gingerbread Pear Jam.
Cool and Store
After processing, carefully remove the jars from the water and let them cool completely on a clean towel or cooling rack. You’ll hear the satisfying “pop” of the lids sealing as they cool. Once cooled, store your jam in a cool, dark place. If you’ve made extra, it can be refrigerated for up to three weeks if not canned.
Tips for Success
- Always use ripe pears for the best flavor and texture.
- Don’t skip the resting time after combining pears and sugar; it enhances the jam’s taste.
- Stir frequently while boiling to prevent sticking and burning.
- Test the jam’s thickness on a cold plate for accurate results.
- Label your jars with the date to keep track of freshness.
Equipment Needed
- Large Pot: A heavy-bottomed pot works best for even cooking.
- Wooden Spoon: Perfect for stirring without scratching your pot.
- Measuring Cups: Essential for accurate ingredient measurements.
- Jars and Lids: Use glass canning jars; mason jars are a great alternative.
- Boiling Water Bath: A large pot or canner for processing jars.
Variations of Gingerbread Pear Jam
- Spiced Rum Addition: For an adult twist, add a splash of spiced rum to the mixture before boiling. It enhances the warm flavors beautifully!
- Maple Syrup Substitute: Swap out some of the sugar for maple syrup for a unique flavor profile that pairs perfectly with the spices.
- Chai Spice Blend: Instead of traditional spices, use a chai spice blend for a different aromatic experience that’s equally delightful.
- Low-Sugar Option: Use a low-sugar pectin and reduce the sugar to make a healthier version without sacrificing taste.
- Fruit Mix-In: Consider adding other fruits like apples or cranberries for a colorful and flavorful twist on the classic recipe.
Serving Suggestions for Gingerbread Pear Jam
- Spread on warm, toasted baguette slices for a delightful breakfast treat.
- Pair with cream cheese on crackers for a festive appetizer.
- Use as a filling in pastries or thumbprint cookies for a sweet surprise.
- Serve alongside a charcuterie board for a unique flavor contrast.
- Drizzle over vanilla ice cream for a cozy dessert option.
FAQs about Gingerbread Pear Jam
As you embark on your Gingerbread Pear Jam adventure, you might have a few questions. Here are some common queries I’ve encountered, along with helpful answers to guide you through the process!
Can I use other fruits in this jam?
Absolutely! While pears are the star, you can mix in apples or cranberries for added flavor and texture. Just keep in mind that different fruits may alter the cooking time and sweetness.
How long does Gingerbread Pear Jam last?
If properly canned, your jam can last up to a year in a cool, dark place. If you choose to refrigerate it instead, enjoy it within three weeks for the best flavor.
Can I reduce the sugar in this recipe?
Yes, you can! Consider using a low-sugar pectin and adjust the sugar to your taste. Just remember that sugar helps with preservation and thickening, so the texture may vary.
What’s the best way to store opened jars?
Once opened, store your Gingerbread Pear Jam in the refrigerator. Make sure to use a clean spoon each time to avoid contamination and keep it fresh longer.
Can I give this jam as a gift?
Definitely! Gingerbread Pear Jam makes a lovely homemade gift. Just be sure to label the jars with the date and any special notes about the ingredients. Your friends and family will appreciate the thoughtful touch!
Final Thoughts
Creating Gingerbread Pear Jam is more than just a cooking project; it’s a heartwarming experience that fills your home with the scents of the season. Each jar captures the essence of holiday gatherings, making it a perfect addition to your festive table or a thoughtful gift for loved ones. I love how this jam brings smiles and warmth, whether it’s spread on a cozy breakfast or shared during a holiday gathering. So, roll up your sleeves, embrace the joy of making this delightful spread, and let the flavors of gingerbread and pear create sweet memories this holiday season!
Print
Gingerbread Pear Jam: A Delicious Holiday Spread!
- Prep Time: 30 minutes
- Cook Time: 20 minutes
- Total Time: 50 minutes
- Yield: 6 cups 1x
- Category: Condiment
- Method: Canning
- Cuisine: American
- Diet: Vegetarian
Description
Gingerbread Pear Jam is a delightful holiday spread that combines the warm spices of gingerbread with the sweetness of ripe pears, perfect for toast, pastries, or as a gift.
Ingredients
- 4 cups ripe pears, peeled and chopped
- 1 cup sugar
- 1/4 cup lemon juice
- 1 teaspoon ground ginger
- 1 teaspoon ground cinnamon
- 1/2 teaspoon ground nutmeg
- 1/4 teaspoon ground cloves
- 1/4 teaspoon allspice
- 1 packet pectin
Instructions
- Prepare jars and lids for canning.
- In a large pot, combine chopped pears, sugar, and lemon juice. Let sit for 30 minutes.
- Add spices and pectin to the pear mixture and stir well.
- Bring the mixture to a boil over medium heat, stirring frequently.
- Once boiling, cook for 10-15 minutes until the jam thickens.
- Pour the hot jam into prepared jars, leaving 1/4 inch headspace.
- Seal jars with lids and process in a boiling water bath for 10 minutes.
- Remove jars and let cool completely before storing.
Notes
- Ensure pears are ripe for the best flavor.
- Adjust spices according to personal preference.
- This jam can be stored in the refrigerator for up to 3 weeks if not canned.
Nutrition
- Serving Size: 1 tablespoon
- Calories: 50
- Sugar: 12g
- Sodium: 0mg
- Fat: 0g
- Saturated Fat: 0g
- Unsaturated Fat: 0g
- Trans Fat: 0g
- Carbohydrates: 13g
- Fiber: 0g
- Protein: 0g
- Cholesterol: 0mg


