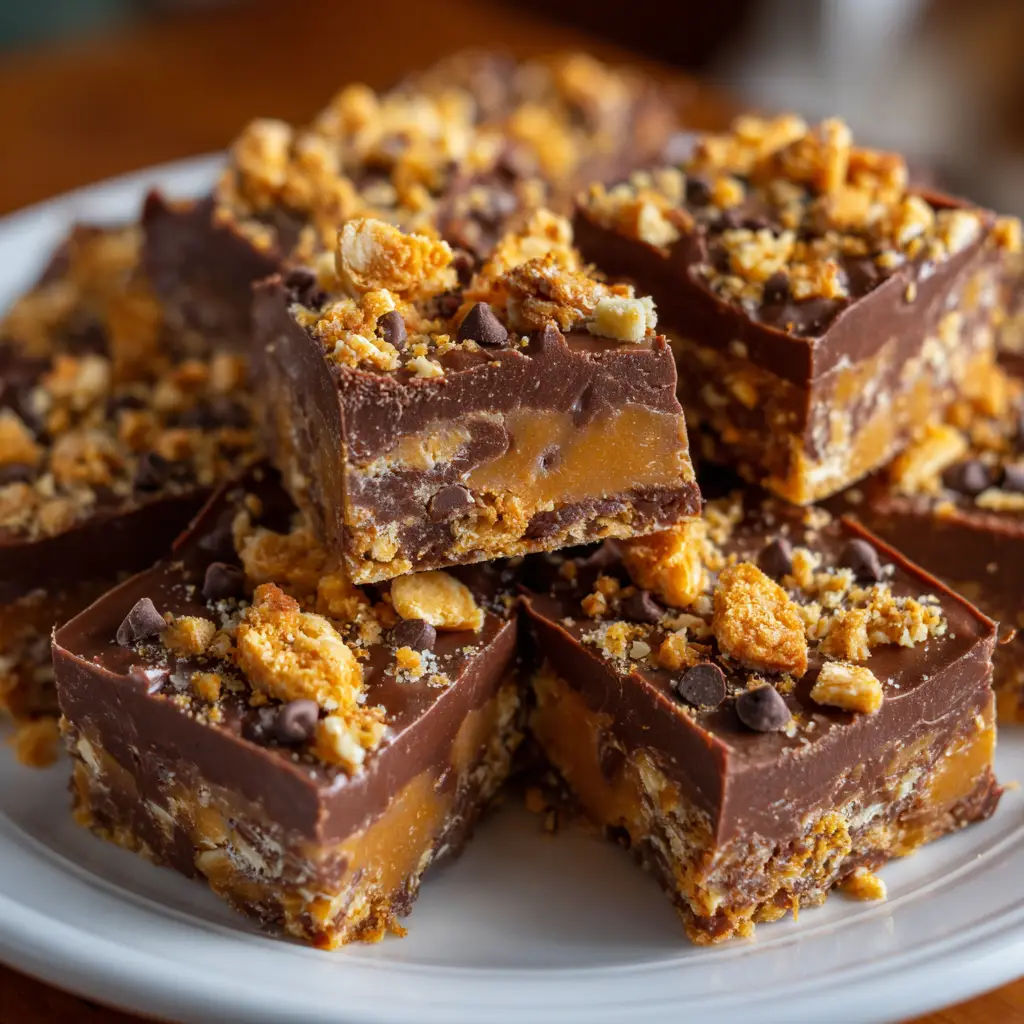
Introduction to Butterfinger Chocolate Fudge Squares
As a busy mom, I know how precious time can be, especially when it comes to whipping up something sweet. That’s why I absolutely adore these Butterfinger chocolate fudge squares! They’re not just a treat; they’re a quick solution for those hectic days when you want to impress your loved ones without spending hours in the kitchen. The combination of rich chocolate and crunchy Butterfinger pieces creates a delightful experience that satisfies any sweet tooth. Trust me, once you make these, they’ll become a go-to recipe in your home!
Why You’ll Love This Butterfinger Chocolate Fudge Squares
These Butterfinger chocolate fudge squares are a dream come true for busy lives! They come together in just 15 minutes, making them perfect for last-minute gatherings or a sweet treat after dinner. The rich, creamy chocolate paired with the crunchy Butterfinger pieces creates a flavor explosion that will have everyone asking for seconds. Plus, they’re no-bake, so you can enjoy the fun without the fuss!
Ingredients for Butterfinger Chocolate Fudge Squares
Gathering the right ingredients is the first step to creating these delightful Butterfinger chocolate fudge squares. Here’s what you’ll need:
- Chocolate chips: The star of the show! Use semi-sweet for a classic taste or dark chocolate for a richer flavor.
- Sweetened condensed milk: This creamy ingredient adds sweetness and helps bind everything together, creating that luscious fudge texture.
- Crushed Butterfinger bars: These little nuggets of joy bring a crunchy, peanut buttery twist that elevates the chocolate experience.
- Vanilla extract: A splash of this aromatic essence enhances the overall flavor, making it even more irresistible.
- Chopped nuts (optional): If you love a bit of crunch, feel free to add walnuts or pecans for an extra layer of texture.
For exact measurements, check the bottom of the article where you can find everything listed for easy printing. Happy cooking!
How to Make Butterfinger Chocolate Fudge Squares
Now that you have your ingredients ready, let’s dive into the fun part—making these Butterfinger chocolate fudge squares! Follow these simple steps, and you’ll have a delicious treat in no time.
Step 1: Melt the Chocolate Mixture
Start by grabbing a saucepan and placing it on the stove over low heat. Add your chocolate chips and sweetened condensed milk. Stir gently as the chocolate begins to melt. Keep mixing until the mixture is smooth and creamy. This is where the magic begins! The aroma of melting chocolate will fill your kitchen, making it hard to resist sneaking a taste.
Step 2: Add Flavor and Crunch
Once your chocolate mixture is silky smooth, remove it from the heat. Now, it’s time to add a splash of vanilla extract. This little addition will elevate the flavor to new heights! Next, fold in the crushed Butterfinger bars. The combination of chocolate and crunchy Butterfinger pieces is simply irresistible. You’ll want to make sure every bite has that delightful crunch!
Step 3: Optional Nut Addition
If you’re a fan of nuts, this step is for you! Consider folding in some chopped walnuts or pecans for an extra layer of texture. The nuts add a lovely crunch that complements the creamy fudge. If nuts aren’t your thing, feel free to skip this step. The Butterfinger pieces already provide plenty of crunch!
Step 4: Prepare for Refrigeration
Now, grab a greased square baking dish. Pour your delicious chocolate mixture into the dish, spreading it evenly with a spatula. Make sure it’s nice and smooth on top. This is where the fudge will set, so take your time to get it just right. You’ll be rewarded with perfectly shaped squares later!
Step 5: Chill Until Set
Pop the baking dish into the refrigerator and let it chill for at least 2 hours. This step is crucial for achieving that perfect fudge texture. You can use this time to clean up your kitchen or even sneak a few more Butterfinger pieces as a reward for your hard work!
Step 6: Cut and Serve
Once the fudge is set, it’s time for the best part—cutting and serving! Use a sharp knife to cut the fudge into squares. I like to serve them on a pretty plate, but you can also keep them in the baking dish for a casual treat. Either way, these Butterfinger chocolate fudge squares are sure to impress!
Tips for Success
- Make sure to stir continuously while melting the chocolate to prevent it from burning.
- For a smoother texture, use a silicone spatula to scrape down the sides of the saucepan.
- Let the fudge cool slightly before refrigerating to avoid condensation.
- Use a sharp knife to cut the squares for clean edges.
- Store any leftovers in an airtight container to keep them fresh.
Equipment Needed
- Medium saucepan: A non-stick option works best for easy cleanup.
- Spatula: A silicone spatula is great for mixing and scraping.
- Square baking dish: Any size will do, but 8×8 inches is ideal.
- Sharp knife: For cutting the fudge into perfect squares.
- Measuring cups: Essential for accurate ingredient portions.
Variations of Butterfinger Chocolate Fudge Squares
- Peanut Butter Swirl: Add a swirl of creamy peanut butter on top before refrigerating for a nutty twist.
- Mint Chocolate: Use mint chocolate chips instead of regular chocolate for a refreshing flavor.
- Gluten-Free Option: Ensure your chocolate chips and Butterfinger bars are gluten-free for a safe treat.
- Vegan Version: Substitute chocolate chips with dairy-free chocolate and use coconut milk instead of sweetened condensed milk.
- Extra Crunch: Mix in additional crushed Butterfinger bars or even pretzels for a sweet and salty combination.
Serving Suggestions for Butterfinger Chocolate Fudge Squares
- Pair with a scoop of vanilla ice cream for a delightful dessert experience.
- Serve alongside a warm cup of coffee or hot chocolate for a cozy treat.
- Garnish with whipped cream and a sprinkle of crushed Butterfinger for an elegant touch.
- Present on a colorful platter for parties or gatherings to impress your guests.
FAQs about Butterfinger Chocolate Fudge Squares
Can I use different types of chocolate chips?
Absolutely! While semi-sweet chocolate chips are a classic choice, you can experiment with dark chocolate or even milk chocolate for a sweeter flavor. Each type will give your Butterfinger chocolate fudge squares a unique twist!
How long do these fudge squares last?
When stored in an airtight container in the refrigerator, your Butterfinger chocolate fudge squares can last up to a week. Just be prepared for them to disappear quickly—they’re that good!
Can I freeze Butterfinger chocolate fudge squares?
Yes, you can freeze them! Just cut the fudge into squares, place them in a single layer on a baking sheet, and freeze until solid. Then transfer them to an airtight container. They’ll keep well for up to three months!
What can I substitute for sweetened condensed milk?
If you need a substitute, you can use homemade condensed milk made from milk and sugar. Alternatively, coconut milk mixed with sugar can work for a dairy-free option, giving your fudge a delightful coconut flavor.
Can I make these fudge squares without Butterfinger bars?
Of course! If you’re not a fan of Butterfinger, you can replace them with other candy bars like Snickers or Reese’s for a different flavor profile. The chocolate fudge base will still be delicious!
Final Thoughts
Making Butterfinger chocolate fudge squares is more than just a recipe; it’s a delightful experience that brings joy to both the cook and the lucky recipients. The rich chocolate combined with the crunchy Butterfinger pieces creates a treat that’s hard to resist. Whether you’re celebrating a special occasion or simply indulging after a long day, these squares are sure to bring smiles all around. Plus, the ease of preparation means you can whip them up anytime, making them a perfect addition to your dessert repertoire. Trust me, once you try them, you’ll be hooked!
Print
Butterfinger chocolate fudge squares are irresistibly delicious!
- Prep Time: 15 minutes
- Cook Time: 10 minutes
- Total Time: 2 hours 25 minutes
- Yield: 16 squares 1x
- Category: Dessert
- Method: Stovetop and Refrigeration
- Cuisine: American
- Diet: Vegetarian
Description
Butterfinger chocolate fudge squares are a delightful treat combining rich chocolate and crunchy Butterfinger pieces, perfect for satisfying your sweet tooth.
Ingredients
- 1 cup chocolate chips
- 1 cup sweetened condensed milk
- 1 cup crushed Butterfinger bars
- 1 teaspoon vanilla extract
- 1/4 cup chopped nuts (optional)
Instructions
- In a saucepan, combine chocolate chips and sweetened condensed milk over low heat.
- Stir until the chocolate is melted and the mixture is smooth.
- Remove from heat and stir in vanilla extract and crushed Butterfinger bars.
- If desired, fold in chopped nuts.
- Pour the mixture into a greased square baking dish and spread evenly.
- Refrigerate for at least 2 hours or until set.
- Cut into squares and serve.
Notes
- Store leftovers in an airtight container in the refrigerator.
- For a richer flavor, use dark chocolate chips.
- Feel free to add more Butterfinger pieces for extra crunch.
Nutrition
- Serving Size: 1 square
- Calories: 150
- Sugar: 12g
- Sodium: 50mg
- Fat: 8g
- Saturated Fat: 4g
- Unsaturated Fat: 3g
- Trans Fat: 0g
- Carbohydrates: 18g
- Fiber: 1g
- Protein: 2g
- Cholesterol: 5mg


