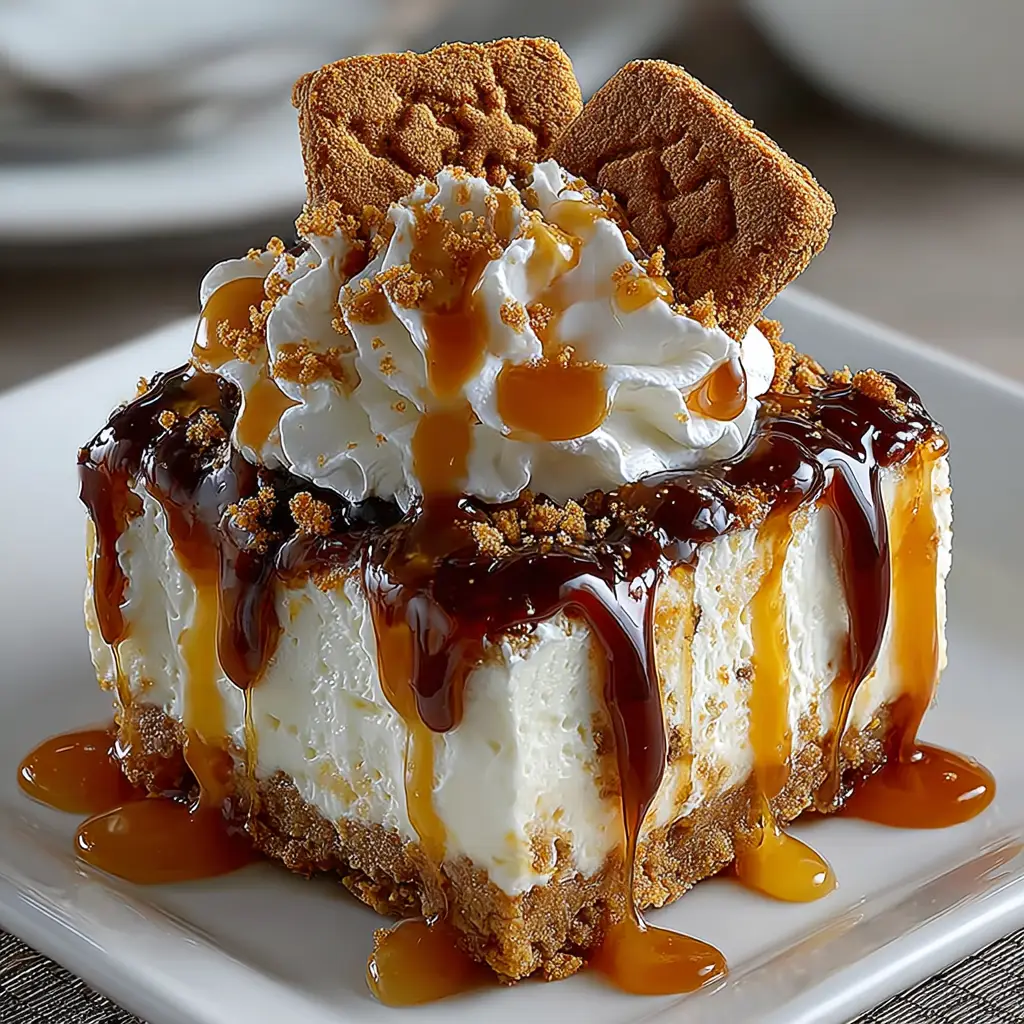
Introduction to No-Bake Biscoff Cheesecake Slice
As a busy mom, I know how precious time can be, especially when it comes to whipping up something delicious. That’s why I’m excited to share my No-Bake Biscoff Cheesecake Slice with you! This delightful dessert is not only easy to make, but it also brings a touch of indulgence to any occasion. Whether you’re looking to impress guests or simply treat yourself after a long day, this cheesecake slice is the perfect solution. With its creamy texture and the irresistible flavor of Biscoff cookies, it’s sure to become a favorite in your home!
Why You’ll Love This No-Bake Biscoff Cheesecake Slice
This No-Bake Biscoff Cheesecake Slice is a dream come true for anyone short on time but big on flavor. It comes together in just 20 minutes, leaving you with more time to enjoy life. The creamy filling paired with the crunchy Biscoff crust creates a delightful contrast that will have your taste buds dancing. Plus, it’s a no-fuss dessert that requires no baking, making it perfect for busy days!
Ingredients for No-Bake Biscoff Cheesecake Slice
Gathering the right ingredients is the first step to creating your No-Bake Biscoff Cheesecake Slice. Here’s what you’ll need:
- Biscoff cookies: These are the star of the show! Their caramelized flavor adds a unique twist to the crust.
- Unsalted butter: This helps bind the cookie crumbs together, creating a rich and buttery crust.
- Cream cheese: The base of the cheesecake filling, it provides that creamy texture we all love.
- Powdered sugar: This sweetens the filling and gives it a smooth consistency, making each bite heavenly.
- Heavy cream: Whipping this adds lightness to the filling, making it airy and delightful.
- Vanilla extract: A splash of this enhances the overall flavor, bringing warmth to the cheesecake.
- Biscoff spread: This is for drizzling on top! It adds an extra layer of Biscoff goodness that’s simply irresistible.
Feel free to get creative! You can use gluten-free cookies for a gluten-free version or swap in a different flavored spread if you’re feeling adventurous. For exact measurements, check the bottom of the article where you can find everything listed for easy printing.
How to Make No-Bake Biscoff Cheesecake Slice
Now that you have all your ingredients ready, let’s dive into the fun part—making your No-Bake Biscoff Cheesecake Slice! Follow these simple steps, and you’ll have a dessert that’s sure to impress.
Step 1: Prepare the Crust
Start by crushing the Biscoff cookies into fine crumbs. You can use a food processor for this, or simply place them in a zip-top bag and crush them with a rolling pin. It’s a great way to relieve stress!
Next, mix the cookie crumbs with melted unsalted butter until everything is well combined. The mixture should resemble wet sand. Press this mixture firmly into the bottom of a lined baking dish. This will form a sturdy crust that holds everything together.
Step 2: Make the Cheesecake Filling
In a large bowl, beat the softened cream cheese and powdered sugar together until smooth. This is where the magic begins! The cream cheese should be at room temperature for easy mixing.
In another bowl, whip the heavy cream and vanilla extract until stiff peaks form. This step adds that light, airy texture to your cheesecake filling. Gently fold the whipped cream into the cream cheese mixture. Be careful not to deflate the whipped cream; you want to keep it fluffy!
Step 3: Combine and Chill
Spread the cheesecake filling evenly over the crust you prepared earlier. Use a spatula to smooth the top, making it look as pretty as a picture. Now, it’s time to chill! Cover the dish with plastic wrap and place it in the refrigerator for at least 4 hours. If you can wait overnight, even better! This allows the flavors to meld beautifully.
Step 4: Add the Finishing Touches
Once your cheesecake has set, it’s time for the grand finale! Drizzle the top with Biscoff spread for that extra touch of indulgence. You can even sprinkle some additional cookie crumbs on top for a bit of crunch. Slice it into pieces, and get ready to enjoy a slice of heaven!
Tips for Success
- Make sure your cream cheese is at room temperature for easy mixing.
- For a firmer cheesecake, let it chill overnight instead of just 4 hours.
- Use a spatula to smooth the filling for a professional-looking finish.
- Don’t rush the chilling process; patience is key for the best texture.
- Feel free to adjust the sweetness by adding more or less powdered sugar.
Equipment Needed
- Mixing bowls: A set of various sizes will help you with different steps.
- Food processor or rolling pin: For crushing the Biscoff cookies, either works well.
- Spatula: Essential for spreading the cheesecake filling evenly.
- Baking dish: A lined dish is perfect for setting your cheesecake.
- Whisk or electric mixer: Use either to whip the cream and mix the filling.
Variations
- Chocolate Drizzle: Add a rich chocolate drizzle on top for a decadent twist.
- Nutty Crunch: Mix in chopped nuts like pecans or almonds for added texture.
- Fruit Topping: Top with fresh berries or sliced bananas for a fruity contrast.
- Vegan Option: Substitute cream cheese with a vegan alternative and use coconut cream for the filling.
- Spiced Version: Add a pinch of cinnamon or nutmeg to the filling for a warm, spiced flavor.
Serving Suggestions
- Pair with Coffee: A cup of freshly brewed coffee complements the sweetness perfectly.
- Garnish with Whipped Cream: A dollop of whipped cream adds a lovely touch.
- Fresh Berries: Serve with strawberries or raspberries for a pop of color and flavor.
- Elegant Plating: Use a cake stand for a beautiful presentation at gatherings.
- Chocolate Shavings: Sprinkle chocolate shavings on top for an extra indulgent look.
FAQs about No-Bake Biscoff Cheesecake Slice
Can I make this No-Bake Biscoff Cheesecake Slice ahead of time?
Absolutely! This cheesecake slice is perfect for making ahead. Just prepare it the day before and let it chill overnight. This allows the flavors to deepen and the texture to set beautifully.
How long does the No-Bake Biscoff Cheesecake Slice last in the fridge?
Stored in an airtight container, your cheesecake slice can last up to 5 days in the fridge. Just be sure to keep it covered to maintain its freshness!
Can I use a different type of cookie for the crust?
Yes! While Biscoff cookies are fantastic, you can substitute them with graham crackers, Oreos, or any cookie you love. Just adjust the flavor profile to match your choice!
Is this No-Bake Biscoff Cheesecake Slice suitable for vegetarians?
Yes, this recipe is vegetarian-friendly! It contains no meat or fish products, making it a delightful dessert for everyone to enjoy.
What can I do if my cheesecake filling is too runny?
If your filling seems too runny, it might need more chilling time. Make sure to whip the heavy cream until stiff peaks form, and consider adding a bit more cream cheese to thicken it up.
Final Thoughts
Creating this No-Bake Biscoff Cheesecake Slice is more than just making a dessert; it’s about bringing joy to your kitchen and delighting your loved ones. The creamy, dreamy filling paired with the crunchy Biscoff crust is a match made in heaven. I love how this recipe allows me to indulge without spending hours in the kitchen. Whether it’s a family gathering or a quiet evening at home, this cheesecake slice is sure to bring smiles and satisfied taste buds. So, roll up your sleeves and treat yourself to a slice of happiness—you deserve it!
Print
No-Bake Biscoff Cheesecake Slice Will Delight Your Tastebuds!
- Prep Time: 20 minutes
- Cook Time: 0 minutes
- Total Time: 4 hours 20 minutes
- Yield: 12 slices 1x
- Category: Dessert
- Method: No-Bake
- Cuisine: American
- Diet: Vegetarian
Description
A delicious and easy-to-make no-bake cheesecake slice featuring the rich flavor of Biscoff cookies.
Ingredients
- 200g Biscoff cookies
- 100g unsalted butter, melted
- 400g cream cheese, softened
- 100g powdered sugar
- 200ml heavy cream
- 1 tsp vanilla extract
- Biscoff spread for topping
Instructions
- Crush the Biscoff cookies into fine crumbs.
- Mix the cookie crumbs with melted butter until well combined.
- Press the mixture into the bottom of a lined baking dish to form the crust.
- In a bowl, beat the cream cheese and powdered sugar until smooth.
- In another bowl, whip the heavy cream and vanilla extract until stiff peaks form.
- Fold the whipped cream into the cream cheese mixture gently.
- Spread the cheesecake filling over the crust evenly.
- Chill in the refrigerator for at least 4 hours or until set.
- Before serving, drizzle with Biscoff spread on top.
Notes
- For a firmer cheesecake, let it chill overnight.
- Feel free to add more Biscoff spread for extra flavor.
- Can be garnished with additional cookie crumbs or whipped cream.
Nutrition
- Serving Size: 1 slice
- Calories: 350
- Sugar: 25g
- Sodium: 150mg
- Fat: 25g
- Saturated Fat: 15g
- Unsaturated Fat: 5g
- Trans Fat: 0g
- Carbohydrates: 30g
- Fiber: 1g
- Protein: 4g
- Cholesterol: 70mg


