Introduction to Cheesy Beef & Potato Crunch Wrap
Hey there, fellow food lovers! If you’re anything like me, you know that life can get pretty hectic. Between juggling work, family, and everything in between, finding time to whip up a delicious meal can feel like a daunting task. That’s where my Cheesy Beef & Potato Crunch Wrap comes in! This delightful wrap is not only quick to make, but it’s also packed with flavor and satisfaction. Perfect for busy weeknights or a fun family dinner, it’s sure to impress your loved ones while keeping your stress levels in check.
Why You’ll Love This Cheesy Beef & Potato Crunch Wrap
This Cheesy Beef & Potato Crunch Wrap is a game-changer for busy moms and professionals alike. It’s incredibly easy to make, taking just 35 minutes from start to finish. The combination of cheesy goodness and crispy potatoes creates a flavor explosion that will have your family asking for seconds. Plus, it’s versatile enough to adapt to your family’s tastes, making it a go-to recipe for any occasion!
Ingredients for Cheesy Beef & Potato Crunch Wrap
Let’s gather our ingredients for this mouthwatering Cheesy Beef & Potato Crunch Wrap! Each component plays a vital role in creating that perfect balance of flavors and textures. Here’s what you’ll need:
- Ground Beef: The star of the show! It adds a hearty protein base that keeps everyone satisfied.
- Diced Potatoes: These little gems bring a delightful crunch and a comforting starchy element to the wrap.
- Shredded Cheese: Choose your favorite! It melts beautifully, adding creaminess and that cheesy goodness we all crave.
- Sour Cream: This adds a tangy richness that complements the beef and potatoes perfectly.
- Taco Seasoning: A sprinkle of this spice mix elevates the flavor profile, giving it that zesty kick.
- Flour Tortillas: The wrap’s cozy blanket! They hold everything together and are easy to handle.
- Oil for Frying: A little oil helps achieve that golden, crispy exterior that makes each bite irresistible.
Feel free to get creative! You can add your favorite vegetables, like bell peppers or onions, to the filling for extra flavor and nutrition. If you like it spicy, toss in some jalapeños or a dash of hot sauce. And don’t worry if you want to make these ahead of time; they freeze beautifully for a quick meal later on!
For exact measurements, check the bottom of the article where you can find everything listed for easy printing.
How to Make Cheesy Beef & Potato Crunch Wrap
Now that we have our ingredients ready, let’s dive into the fun part—making our Cheesy Beef & Potato Crunch Wrap! Follow these simple steps, and you’ll have a delicious meal in no time.
Step 1: Cook the Ground Beef
Start by heating a skillet over medium heat. Add the ground beef and cook it until it’s browned, breaking it apart with a spatula. This should take about 5-7 minutes. The aroma of sizzling beef is simply irresistible! Make sure to drain any excess fat to keep your wrap from getting greasy.
Step 2: Add Potatoes and Seasoning
Next, toss in the diced potatoes and sprinkle the taco seasoning over the mixture. Stir everything together, ensuring the potatoes are coated in that zesty seasoning. Cook for another 10 minutes, or until the potatoes are tender. You’ll want to keep an eye on them, stirring occasionally to prevent sticking.
Step 3: Mix in Cheese and Sour Cream
Once the potatoes are soft, it’s time to add the shredded cheese and sour cream. Stir until the cheese melts and everything is well combined. This creamy mixture is the heart of your Cheesy Beef & Potato Crunch Wrap, and it’s going to be delicious!
Step 4: Assemble the Wraps
Now, grab your flour tortillas. Place a generous portion of the beef and potato mixture in the center of each tortilla. Fold the sides in, then roll it up tightly from the bottom. This will keep all that cheesy goodness secure inside. Don’t worry if it’s not perfect; it’s the taste that counts!
Step 5: Fry the Wraps
Heat some oil in a pan over medium heat. Once hot, carefully place the wraps seam-side down in the pan. Fry them for about 3-4 minutes on each side, or until they’re golden brown and crispy. The sound of that crunch is music to my ears!
Step 6: Serve and Enjoy
Once your wraps are crispy and golden, remove them from the pan and let them cool for a minute. Slice them in half to reveal the cheesy filling inside. Serve hot, and watch your family devour these delightful wraps. Trust me, they won’t last long!
Tips for Success
- Prep your ingredients ahead of time to save precious minutes during cooking.
- Don’t overcrowd the pan when frying; this ensures even crispiness.
- Experiment with different cheeses for unique flavors—pepper jack adds a nice kick!
- Let the wraps cool slightly before serving to avoid burning your mouth.
- Pair with a fresh salad or salsa for a refreshing contrast.
Equipment Needed
- Skillet: A non-stick skillet works best, but any frying pan will do.
- Spatula: Use a sturdy spatula for flipping the wraps.
- Measuring Cups: Handy for portioning ingredients, but you can eyeball it too!
- Knife and Cutting Board: Essential for chopping potatoes and other veggies.
Variations
- Vegetarian Option: Swap the ground beef for black beans or lentils for a hearty, meatless version.
- Spicy Twist: Add diced jalapeños or a splash of hot sauce to the beef mixture for an extra kick.
- Cheese Lovers: Mix different types of cheese, like mozzarella or cheddar, for a melty, gooey filling.
- Loaded Wrap: Top the finished wraps with guacamole, salsa, or fresh cilantro for added flavor.
- Gluten-Free Option: Use gluten-free tortillas to make this dish suitable for those with dietary restrictions.
Serving Suggestions
- Pair your Cheesy Beef & Potato Crunch Wrap with a fresh garden salad for a light, crunchy contrast.
- Serve with a side of salsa or guacamole for dipping—perfect for adding extra flavor!
- For drinks, consider a refreshing iced tea or a zesty lemonade to complement the meal.
- Garnish with fresh cilantro or green onions for a pop of color and flavor.
FAQs about Cheesy Beef & Potato Crunch Wrap
Can I make Cheesy Beef & Potato Crunch Wraps ahead of time?
Absolutely! You can prepare the filling in advance and store it in the fridge for up to three days. Just assemble and fry the wraps when you’re ready to enjoy them.
What can I substitute for ground beef?
If you’re looking for alternatives, ground turkey or chicken works well. For a vegetarian option, try black beans or lentils for a hearty filling.
How do I store leftovers?
Store any leftover wraps in an airtight container in the fridge for up to three days. You can reheat them in a skillet for that crispy texture!
Can I freeze Cheesy Beef & Potato Crunch Wraps?
Yes! These wraps freeze beautifully. Just wrap them tightly in plastic wrap and place them in a freezer bag. They can be frozen for up to three months.
What sides pair well with these wraps?
These wraps are delicious on their own, but they pair wonderfully with a fresh salad, chips, or a side of guacamole for dipping!
Final Thoughts
Creating my Cheesy Beef & Potato Crunch Wrap has become a cherished ritual in my kitchen. It’s more than just a meal; it’s a moment of joy amidst the chaos of daily life. The delightful crunch, the gooey cheese, and the savory beef come together to create a dish that warms the heart and satisfies the soul. Whether it’s a busy weeknight or a fun family gathering, these wraps bring smiles and laughter to the table. I hope you enjoy making them as much as I do, and that they become a beloved favorite in your home too!
Print
Cheesy Beef & Potato Crunch Wrap: A Must-Try Delight!
- Prep Time: 15 minutes
- Cook Time: 20 minutes
- Total Time: 35 minutes
- Yield: 4 wraps 1x
- Category: Main Dish
- Method: Frying
- Cuisine: American
- Diet: Gluten Free
Description
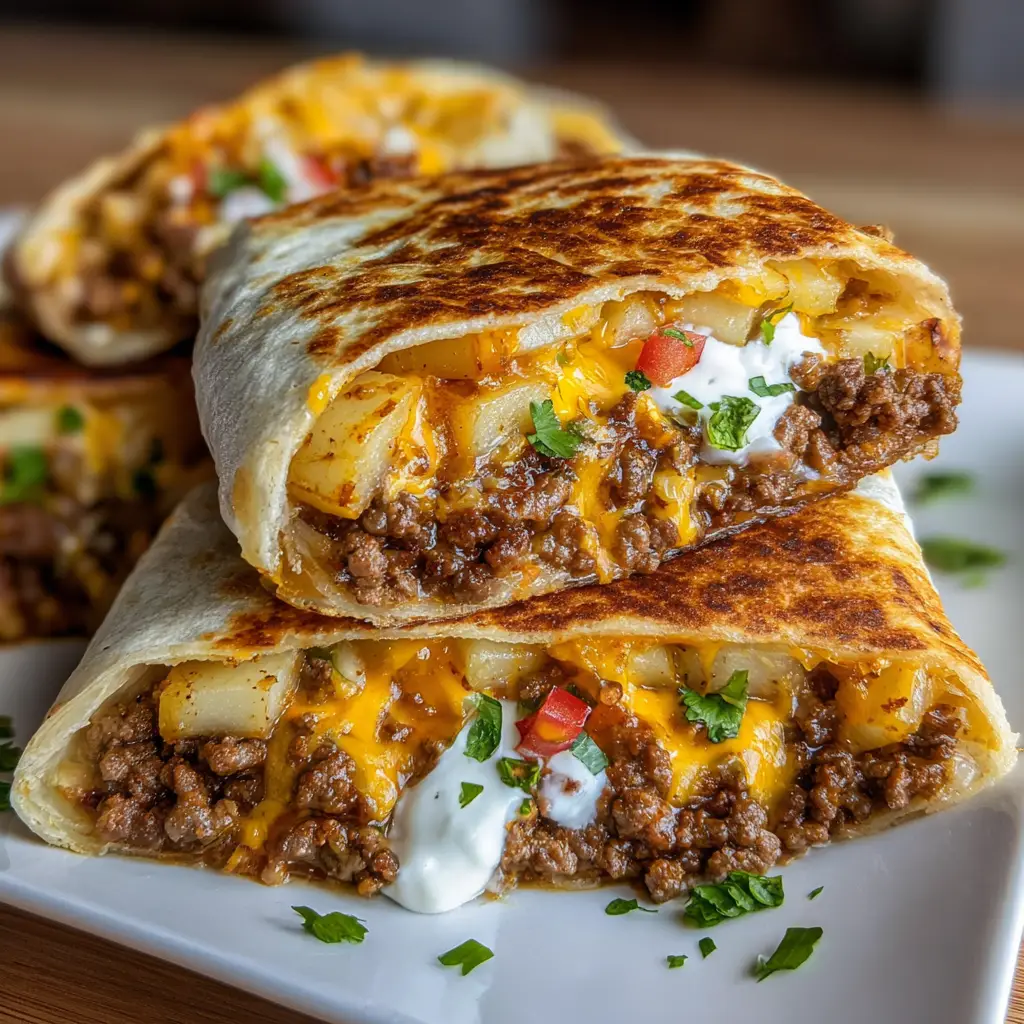
A delicious and satisfying wrap filled with cheesy beef and crispy potatoes, perfect for a quick meal.
Ingredients
- 1 lb ground beef
- 2 cups diced potatoes
- 1 cup shredded cheese
- 1/2 cup sour cream
- 1 tsp taco seasoning
- 4 large flour tortillas
- Oil for frying
Instructions
- In a skillet, cook the ground beef over medium heat until browned.
- Add diced potatoes and taco seasoning, cooking until potatoes are tender.
- Mix in shredded cheese and sour cream until melted and combined.
- Place a portion of the beef and potato mixture onto each tortilla.
- Fold the tortillas into a wrap, ensuring the filling is secure.
- Heat oil in a pan and fry each wrap until golden and crispy on both sides.
- Serve hot and enjoy!
Notes
- Feel free to add your favorite vegetables to the filling.
- For a spicier kick, add jalapeños or hot sauce.
- These wraps can be made ahead and frozen for later use.
Nutrition
- Serving Size: 1 wrap
- Calories: 450
- Sugar: 2g
- Sodium: 800mg
- Fat: 25g
- Saturated Fat: 10g
- Unsaturated Fat: 15g
- Trans Fat: 0g
- Carbohydrates: 40g
- Fiber: 3g
- Protein: 20g
- Cholesterol: 70mg


